While many home gardeners opt for planting plugs or seedlings from their local nursery, there is much benefit in learning how to start seedlings of your own or plant seeds directly outdoors. In addition, learning the basics of seed saving at the end of the growing season is a practical way to save money, and can help growers become much more self-sufficient and sustainable in their practice.
One of the top benefits of saving seeds for future growing seasons is having control over the varieties grown, and being able to choose the most productive and healthiest plant options for your home garden. Saving seeds from plants that have grown well in your climate will provide you with seedlings that are already well-adapted to your growing zone, greatly increasing the chance of having a healthy plant with a higher yield.
While the absolute beginner may opt for getting a seed starting kit to make the process easier, starting your own seedlings at home can also be simple. In fact, it is even more frugal and sustainable to use items you already have available in your home, and this can be done fairly easily. So before investing in fancy trays, heating pads or grow lights for seed starting, read on to discover some simple tips and tricks to get started without having to spend too much money.

Indoor Seed Starting Basics
When starting seeds for the first time, there are a few factors to consider before purchasing seed packets at your local garden center or from seed companies online. Choose seeds that are best adapted to your growing zone, and that have a seed-to-harvest time that makes sense for the length of the growing season where you live. It is also important to ensure that there is enough space in your garden for the seeds to grow to their full size.
When planning on growing vegetables or other edible plants, it is recommended to start with organic seeds if possible. If your intention is to also save seeds from the plants you grow, opt for an heirloom seed variety instead of a hybrid seed.
What are heirloom seeds? Heirloom seeds are reliable, non-GMO, open-pollinated seeds that are typically passed down from generation to generation, producing nutritious and consistent crops that return high yields. Open-pollinated plants will self-pollinate and require less effort from the gardener in this regard.
Creating the ideal environment for seedlings to thrive is crucial to set them up for healthy and optimal growth. Seeds require warmth, moisture, and oxygen to germinate. At the germination stage, it is often recommended to keep seeds in a dark space, depending on the plant being grown.

Once seeds have germinated, they should be planted in a light and sterile growing medium that can support them at the early stages of growth. It is recommended to use a tray to separate the seeds into their own small space - an egg carton works very well for this, as do little paper or biodegradable cups that can be easily found in store or online. Placing your seed tray in a bright window that gets sun most of the day is usually sufficient for the seeds to start growing. If this is not possible, then investing in grow lights for seed starting may be a better option.
It is also important to monitor the ambient temperature and be sure that seeds are receiving warmth and have no chance of freezing. If seedlings are being started in winter, they can be covered with plastic wrap or placed in a plastic lettuce container to create a humid “greenhouse” effect, while still allowing for air to flow. Be sure to check on the seeds daily to ensure they are not drying out or burning.
Always ensure that seeds are being given enough water, but are not being drowned. Watering with a small watering can or with a spray bottle is recommended at the very early stages, giving the seeds just enough water for the soil to stay moist, but not saturated. Giving seeds smaller amounts of water, a few times per day will ensure that soil does not dry out, especially if seeds are covered with a plastic dome for a greenhouse effect.
If seedling stems start growing very long and skinny - this is a sign that they are not receiving enough light. Leggy seedlings can be corrected by bringing the light source as close as possible above the growing seedlings so that they can strengthen their stem and start growing more robust. Leggy seedlings risk falling over from the weight of the growing leaves.
Before starting seeds indoors, check the last frost date for your growing zone. It is important not to start seeds too early or too late - giving them enough time to establish and harden off before it is time to move them outdoors.

Before moving seedlings outdoors, it is recommended to harden them off. This means that seedlings must be acclimatized to outdoor temperatures and conditions before being planted in the ground or in outdoor planters. As the days get a bit warmer, gradually move seedlings outdoors for a few hours during the day, in a spot that gets both sun and wind.
Alternatively, a fan can be placed in the greenhouse or area that seedlings are being kept, and left on facing toward the seedlings. This will create wind resistance on the seedling stems and allow them to thicken and become stronger for outdoor planting.
Tips for Direct Sowing Seeds Outdoors
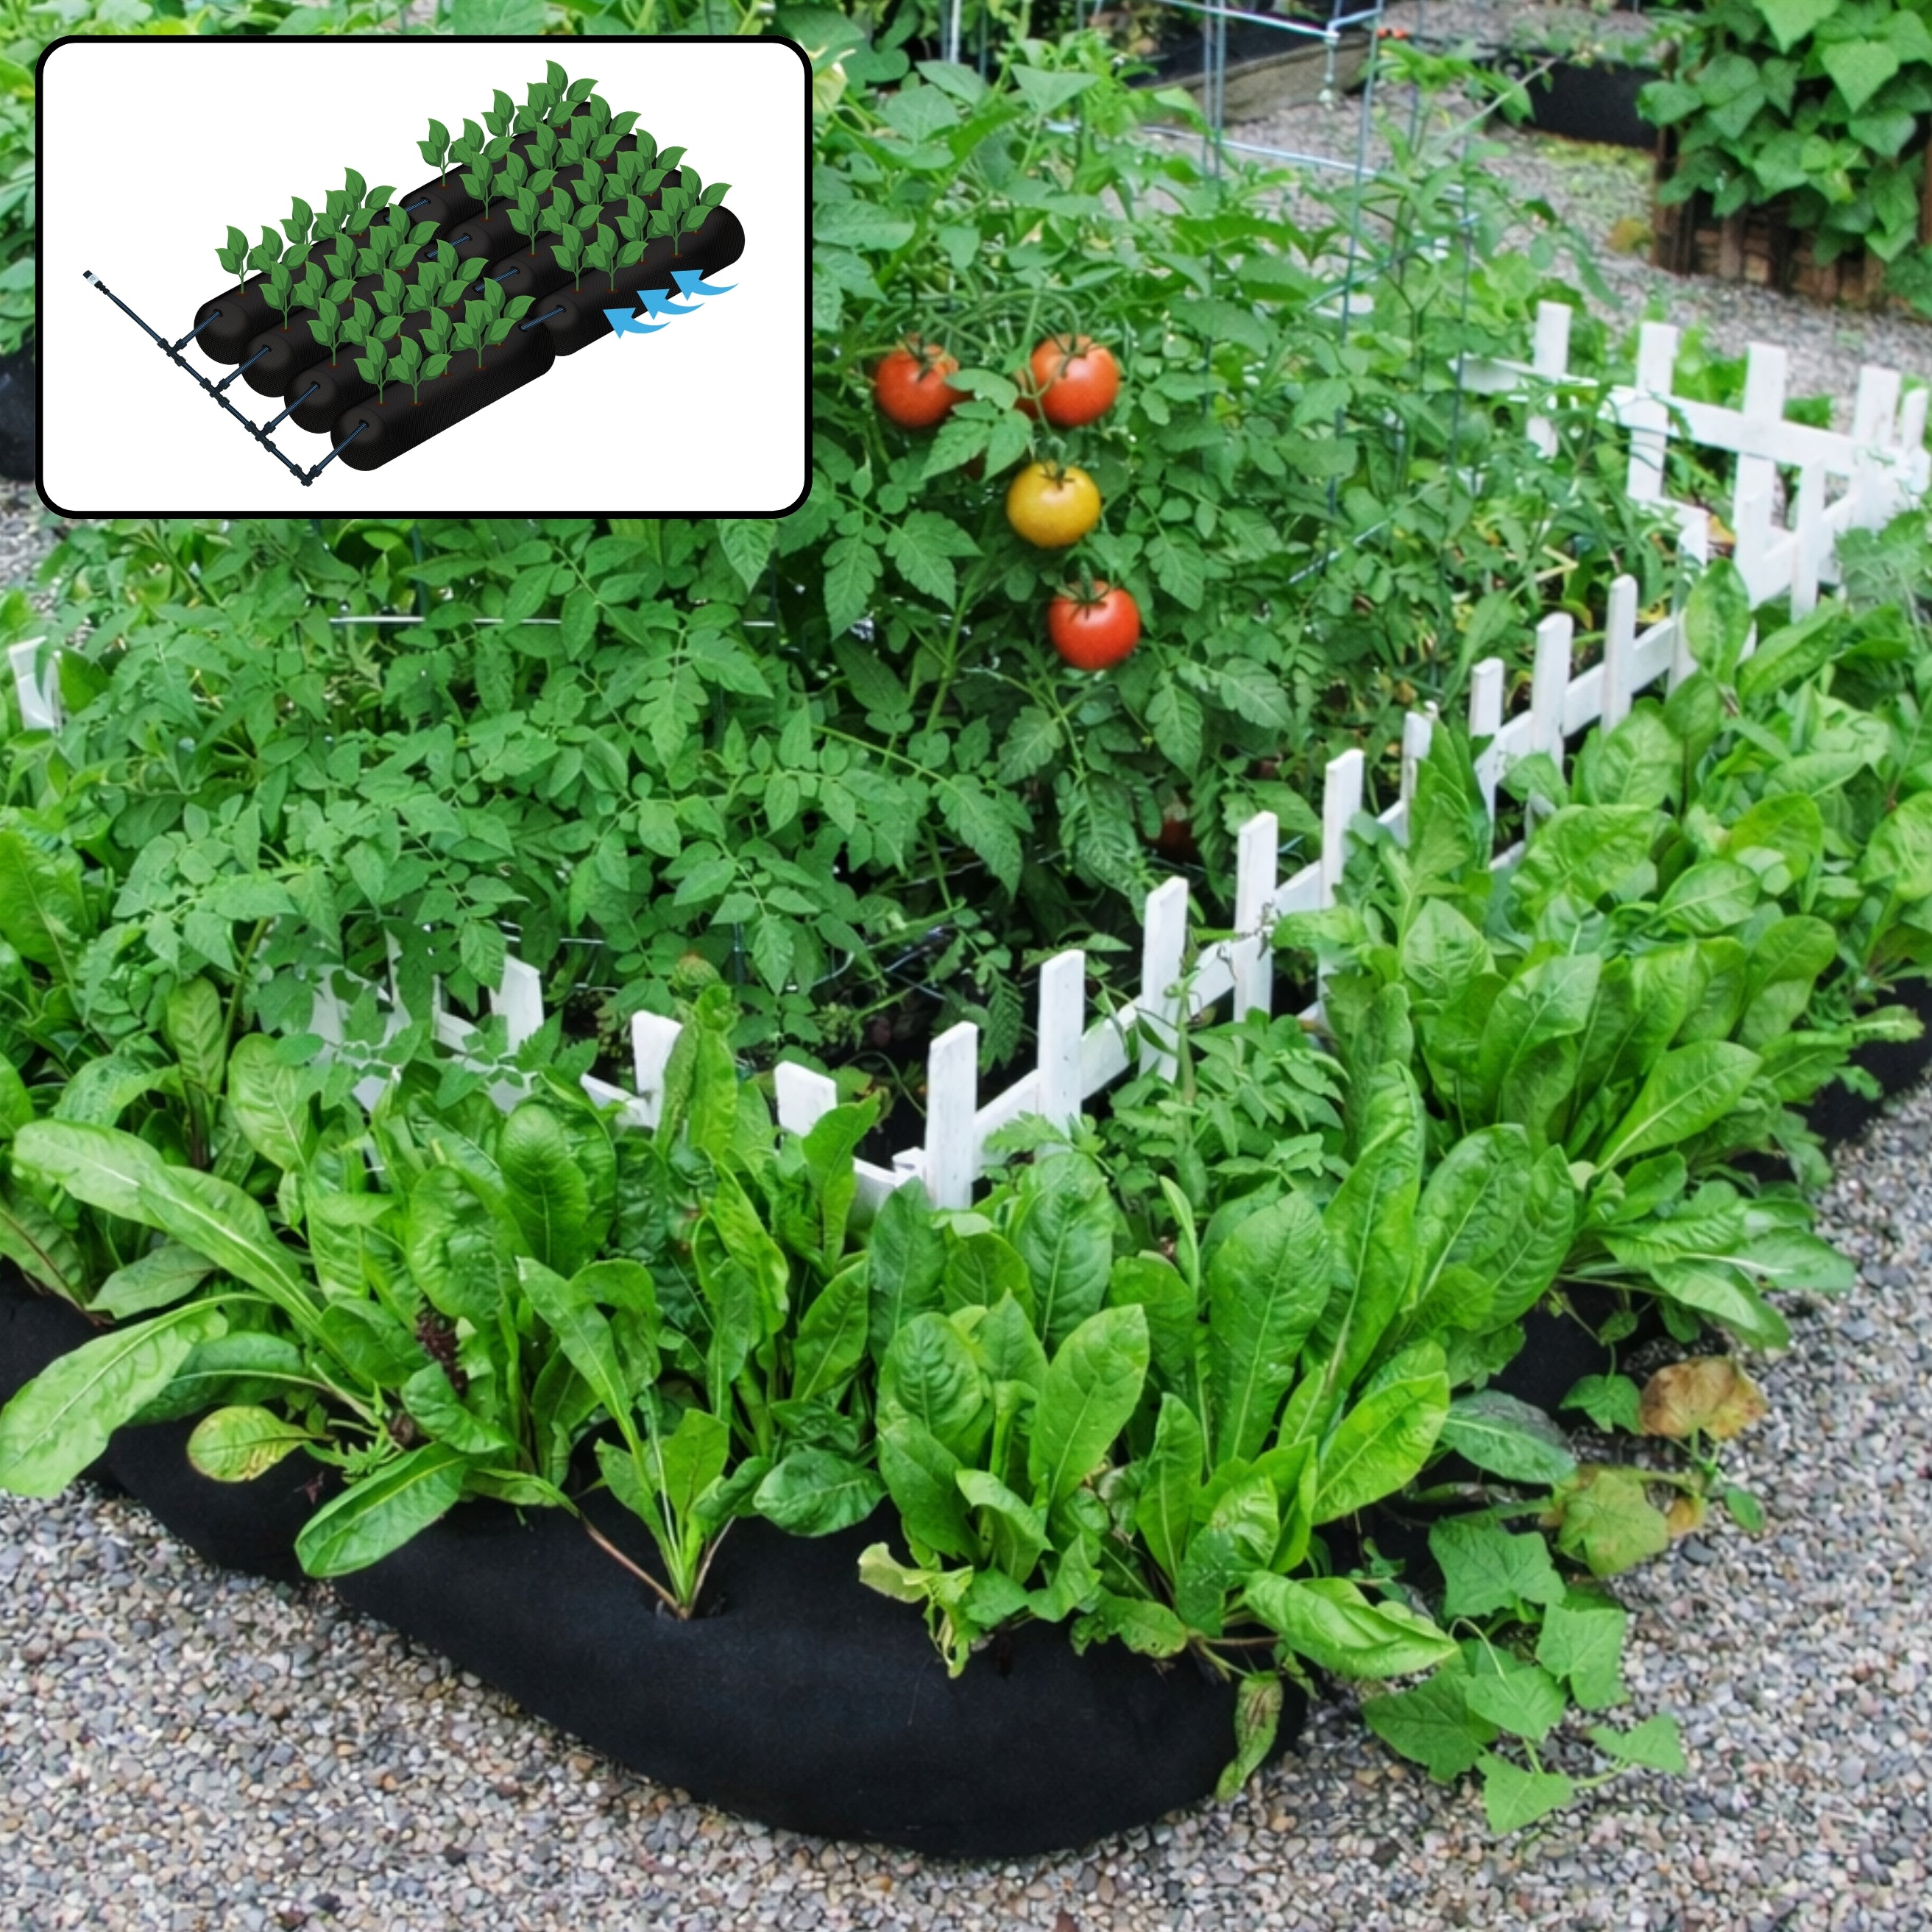
Some seeds are best sown directly outdoors, for example root vegetables and other quick-growing, cold-hardy crops. In most cases, it is still best to ensure that risk of frost has passed and the ground soil is workable. If using a fabric planter system like GardenSoxx, planting can be done before the ground thaws, and if frost is still a potential risk, we recommend having plant cover fabric on hand to protect seedlings from the elements in their early stages.
When direct sowing seeds outdoors, especially with root crops, it can be beneficial to sow seeds closer together than recommended, and then thin them as they sprout. This will ensure that the strongest and most viable plants are the ones that remain, and that they all have enough space to adequately grow.

It is important to keep the soil moist once seeds have been sown. This means watering regularly, and in some cases adding a layer of mulch to keep moisture in the soil and prevent the top layer of soil to dry out and form a crust that some seed will have a hard time breaking through.
Tips for Seed-Saving from Homegrown Crops
Saving seeds from your own garden is yet another step toward complete self-sufficiency, and especially makes sense if your garden is producing high-quality crops. If you are putting time and energy into your garden to ensure healthy plants, saving seeds will help to preserve heirloom plant varieties that are already well-adapted to your growing zone and environmental conditions. Seed-saving also saves money in the long run, allowing you to grow produce year after year without having to purchase more seeds.
Having a seed library filled with home-grown heirloom seeds can also allow you to swap and exchange seeds with neighbors for other plant varieties that might be missing from your inventory. Most plants will produce an abundance of seeds each season, typically much more than is needed for the following season. Learning how to save and preserve seeds properly is a valuable skill for any gardener or homesteader interested in being more self-sufficient.

When saving seeds from any crop, it is best to choose the healthiest, most productive plants. Choosing seeds from strong, healthy plants will ensure that those seeds will produce healthy plants the following year.
When saving seeds, it is important to know the difference between open-pollinated, hybrid and heirloom seeds. Focusing your seed-saving efforts on open-pollinated and heirloom varieties is highly recommended, as hybrid seeds tend to have a lower yield, smaller blooms and do not typically grow as vigorously. Starting your own seedlings at the beginning of the season will give you more control over knowing what type of seeds you are sowing. If you do purchase seedlings from a garden center, make sure to check the plant label which will normally indicate if it is a hybrid plant (look for F1 on the label) - in which case it is best to not save seeds from this particular plant.
If you plan to save seeds from your fruiting vegetable crops (like tomatoes, peppers, eggplant, and other crops that produce their fruit above-ground), allow some of the fruit to over-ripen on the plant itself. Do not wait so long that the fruit is starting to rot, but ensure that it is very ripe (beyond the ripeness at which you would consume it).
Once the fruit is picked, it can be cut open and the seeds can be carefully removed and washed to remove any of the pulp that is stuck to the seeds. Seed should then be spread out in a thin layer on a paper or tea towel and left to dry completely before being stored in an air-tight container or envelope.

Crops like beans and peas are excellent for easy seed-saving. Allow some pods to remain on the plant until they are completely dried up. The outer pod should be brown and paper-like, and the seeds inside should rattle slightly when the pod is shaken. The seeds can then be simply removed and stored in a seed saving envelope.
Saving flowers seeds or herb seeds is typically a simpler process. Allow herbs to bolt (produce flowers) and leave those flowers to dry on the plant before collecting them and place in a paper bag to hang and finish drying. Flower seeds are much the same as blooms can be left on the plant to become dried and brown, and seeds will be fairly easy to remove and store. Breaking up the seeds from the bloom and separating them from the petals and other dried flower material reduces the risk of seeds going moldy once they are stored. It may be tedious, as some seeds are quite tiny, but this extra step is recommended to keep seeds clean and viable for following seasons.

Always label seed saving envelopes, so not to forget what seeds you have saved come next season. Keep dried seeds stored in a cool, dark place until they are ready to be germinated - many seeds will remain viable for several years if stored properly.
Garden Planning from Saved Seeds
During the winter months, take inventory of the seeds that have been saved from the previous growing season. Based on your growing zone and last spring frost, you can assess which seeds should be started early indoors and create a seed-starting schedule to stay on track.
It is highly recommended to rotate garden crops year after year, and avoid planting the same crop family in the same soil two years in a row. Keeping a garden journal can help with this planning. If starting seeds in advance, always start more seedlings than you expect to plant, and choose from the healthiest and most vigorous seedlings when planting time comes.
Becoming self-sufficient is a process that can take time, and often involves some trial and error to learn lessons along the way. If seed-starting and seed-saving are skills you are interested in learning, start small with the crops you are currently growing. Invest in high-quality, organic heirloom seeds from reputable suppliers in order to set yourself up for success when it comes time to save those seeds for future growing seasons.
While it can help to invest in seed starting kits, trays or lighting equipment, it is also very possible to simply use items that are readily available to you. Remember that success comes with practice and even the smallest efforts can pay off greatly as these types of skills are highly valuable and can be passed down for generations to come.